
Updating your domain’s DNS nameservers allows you to connect it to a new hosting provider, DNS manager, or platform. While it might sound technical, the process is straightforward once you know where to look. This guide walks you through the exact steps to change your domain’s nameservers in GoDaddy.
Step-by-Step Tutorial
1. Sign In to Your GoDaddy Account
Go to GoDaddy.com and sign in.
Navigate to “My Products” → “Domains.”
Select the domain you want to update. This will open the Domain Information page.
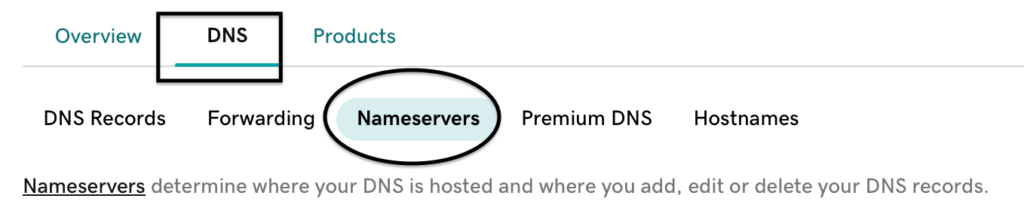
2. Open the DNS Settings
At the top of the page, beside the Overview tab, click DNS.
This will take you to the Manage DNS screen.
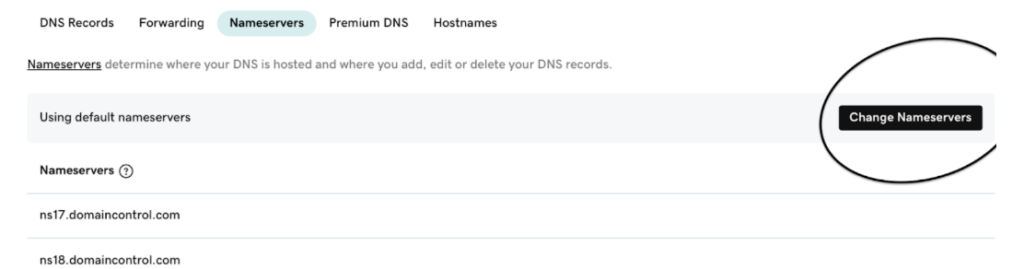
3. Click “Change Nameservers”
On the Manage DNS page, scroll down to the Nameservers section.
Click the Change Nameservers button.
4. Select “I’ll Use My Own Nameservers”
In the dialog box that appears, choose “I’ll use my own nameservers.”
This tells GoDaddy you’ll be manually entering your new DNS records.
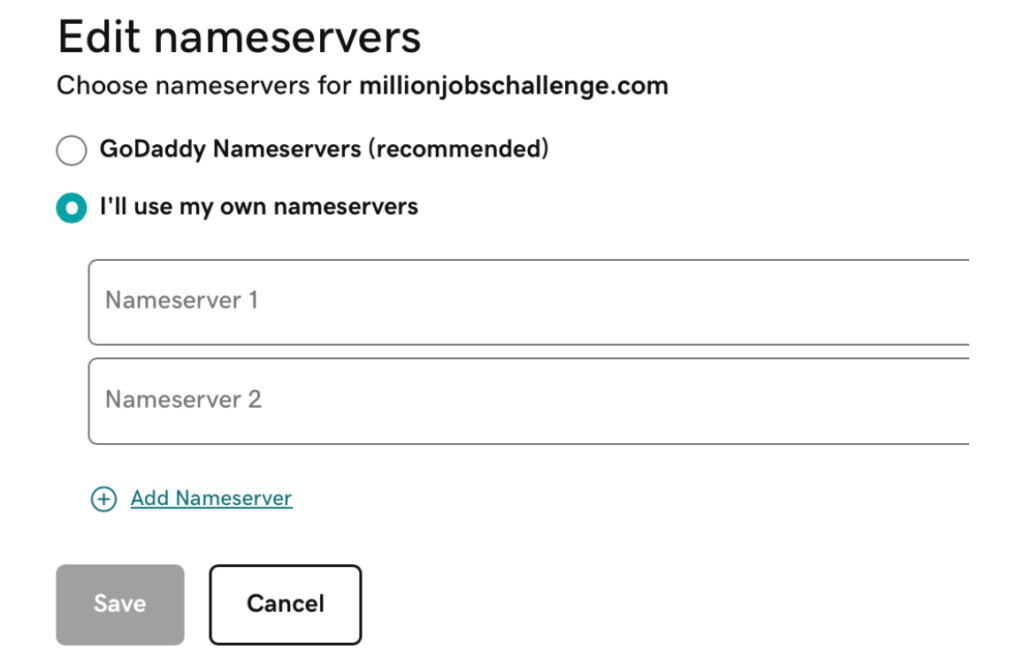
5. Enter Your New Nameservers
Type in the nameservers provided by your hosting company or DNS provider.
Most setups require two nameservers (for example, ns1.example.com and ns2.example.com), though some configurations may use four or more.
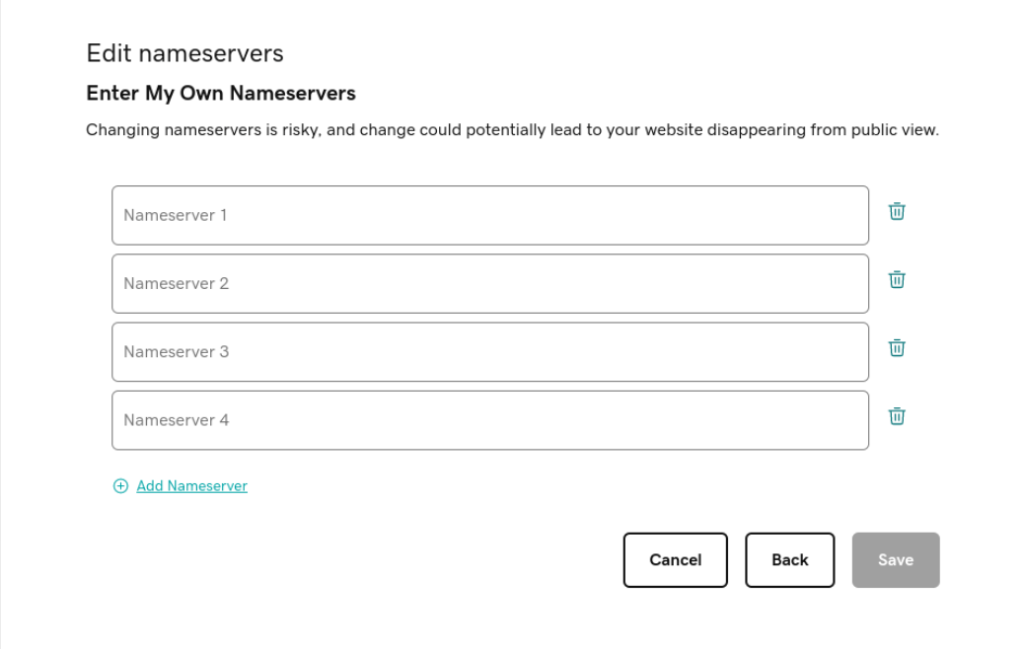
6. Save Your Changes
Click Save to apply your new settings.
If a confirmation popup appears, check the acknowledgment box and click Continue.
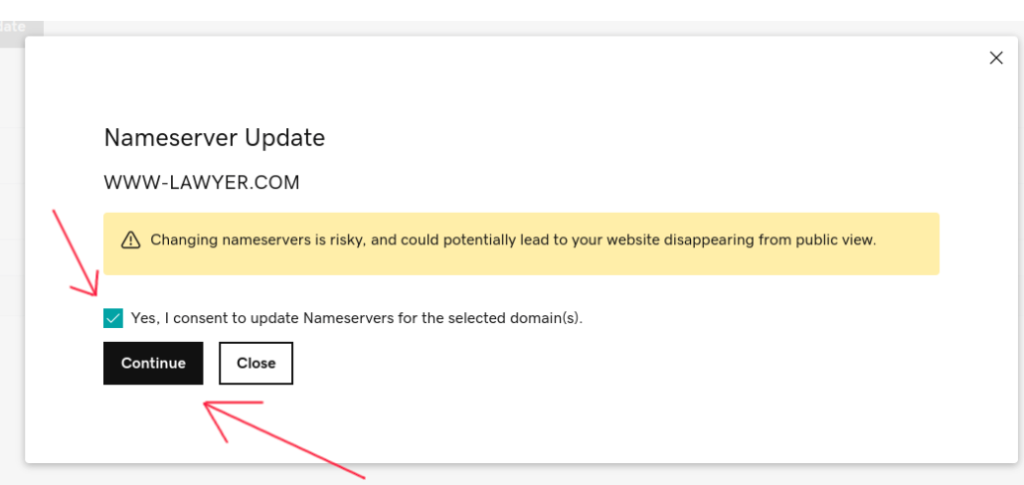
That’s it; your nameserver change request is now submitted.
Important Notes
- DNS changes can take up to 24 hours to propagate across the internet, though it often happens sooner.
- Entering incorrect nameservers can cause your website or email to go offline. Double-check before saving.
- If you’re unsure which nameservers to use, contact your hosting provider or technical support team.
Changing your nameservers in GoDaddy is simple once you know the steps, but proceed carefully. Small errors can lead to downtime.
Using Namecheap instead of GoDaddy? Here’s the guide on how to change DNS settings in Namecheap.