
If you’re pointing your domain to a new host or DNS provider, updating your nameservers in Namecheap is the move. Here’s a simple walkthrough to get it done.
Why Change DNS Nameservers?
You’ll need to update your nameservers anytime you switch hosting providers or use a specialized DNS service. Doing this ensures your domain points to the right server, critical for:
- Website access (people can actually reach your site).
- Performance improvements (better hosting, faster load times).
- Security upgrades (some DNS providers offer stronger protection).
Step 1 – Log in to Your Namecheap Account
Head to Namecheap.com and sign in. You’ll land on your dashboard.
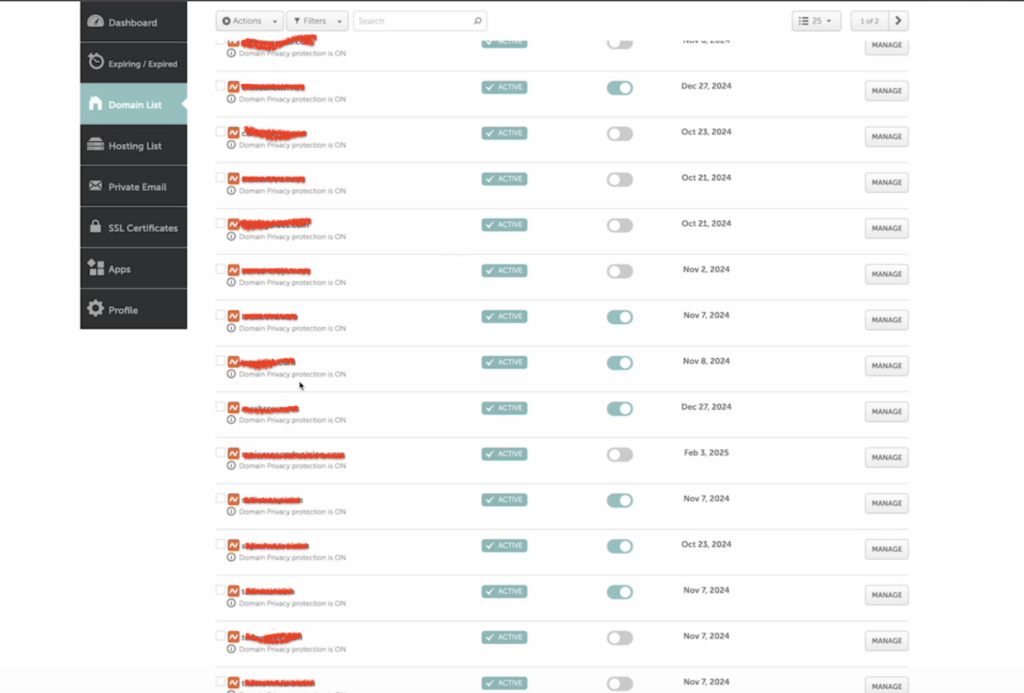
Step 2 – Go to Your Domain List
From the left-hand menu, select “Domain List.”
Step 3 – Choose the Domain
Find the domain you want to update and click on it to open the management panel.
Step 4 – Find the Nameservers Section
Scroll until you see “Nameservers” or “DNS Management.”
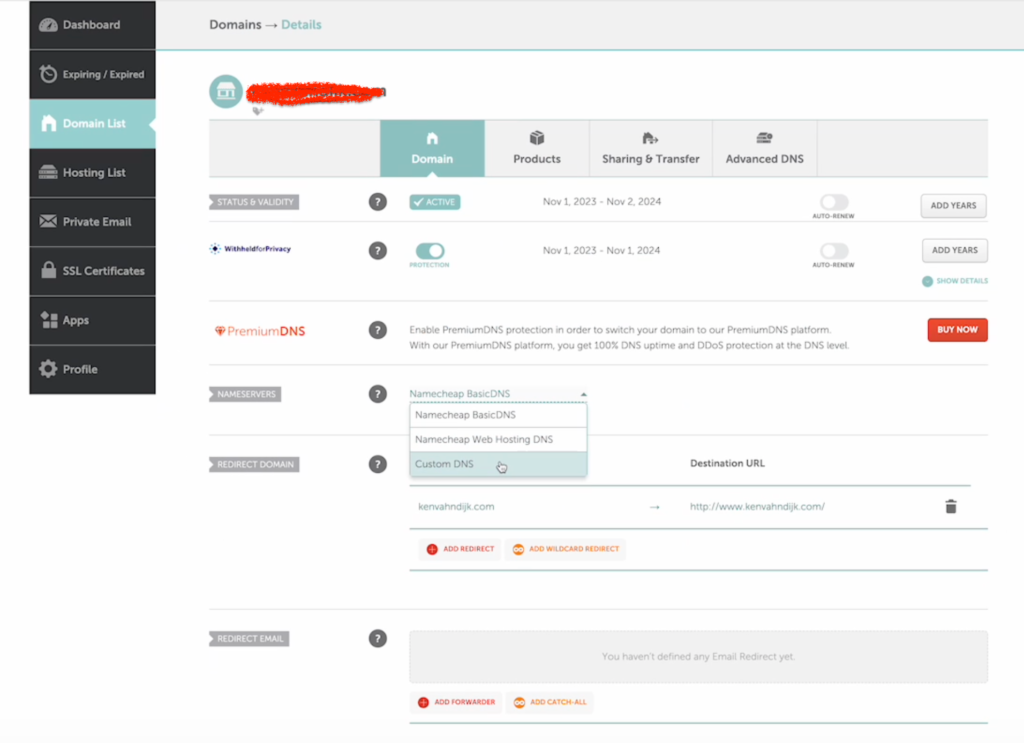
Step 5 – Switch to Custom DNS
From the dropdown, choose “Custom DNS” or “Use Custom Nameservers.”
Step 6 – Add Your New Nameservers
Enter the nameservers supplied by your new host or DNS provider. You’ll usually be given at least two:
Nameserver 1: ns1.yourhostingprovider.com
Nameserver 2: ns2.yourhostingprovider.com
Double-check for typos; they’ll break things faster than you can say “Why is my site down?”
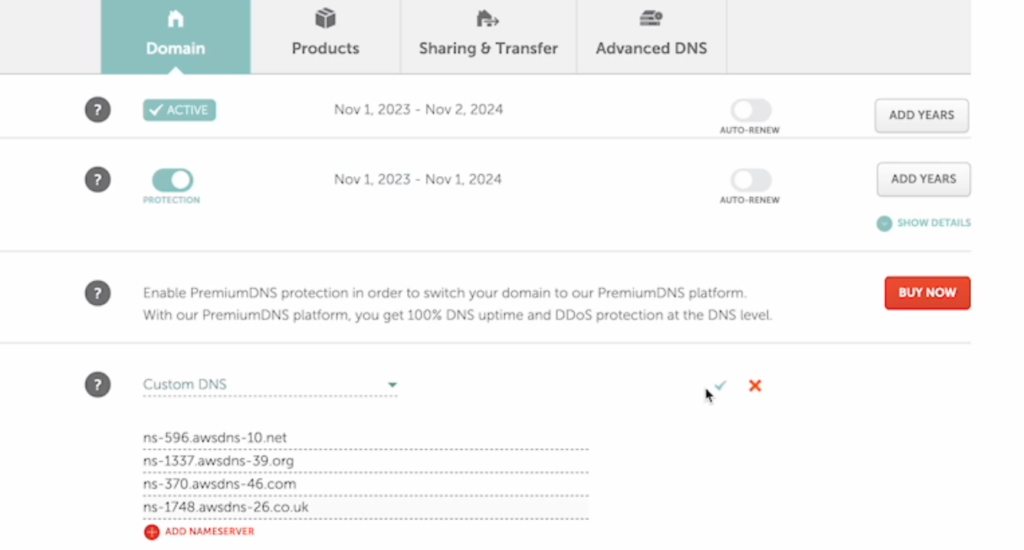
Step 7 – Save Your Changes
Click the green checkmark to apply the update.
Your Namecheap DNS Nameservers Are Now Updated
Updating your nameservers is straightforward, but it does require precision. DNS propagation can take up to 24 hours, and incorrect entries can knock your website offline. If you’re unsure, ask for help before clicking that save button.
Using GoDaddy instead of Namecheap? Here’s the guide on how to change DNS settings in GoDaddy.